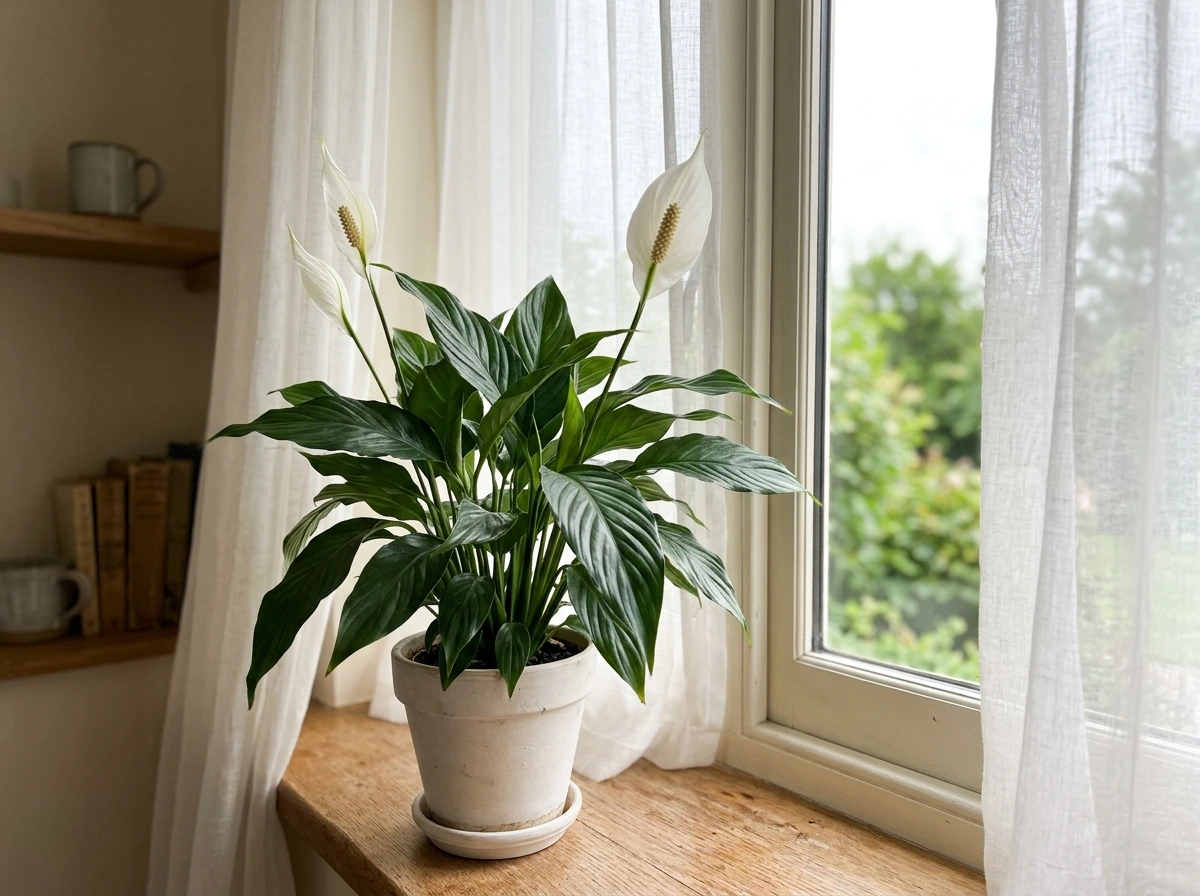
Yes, calla lilies can absolutely grow and bloom indoors. They are not the easiest houseplant, but they are far from the hardest. I've kept them going on a bright windowsill for several years, and once you understand their growth cycle, especially the dormancy period that trips most people up, indoor calla lilies are very manageable. The key is getting the light right, not overwatering, and letting the plant rest when it wants to. Get those three things right and you will get flowers.
Can Calla Lily Grow Inside? Indoor Care, Dormancy Steps
Marcus Hendricks
24 Mar 2026
When indoor calla lilies actually work
Calla lilies (Zantedeschia species) are naturally adapted to a wet-then-dry cycle in the wild. That cycle maps well onto indoor conditions if you manage it deliberately. They thrive indoors when you can give them a bright window during their active growing period, a temperature that stays between 60 and 75°F (16 to 24°C), and a proper dormancy rest of roughly two to three months per year. Without that rest, the plant slowly weakens and stops flowering. With it, you can get blooms that last three to eight weeks each season.
The most common scenario where indoor calla lilies fail is treating them like a standard tropical houseplant: keeping the soil constantly moist, leaving them in a dim corner, and never giving them a dry-down period. Unlike peace lilies, which tolerate lower light and consistent moisture, calla lilies need more sun and a genuine rest. Keep that distinction in mind as you set yours up.
Light: this is where most indoor setups go wrong
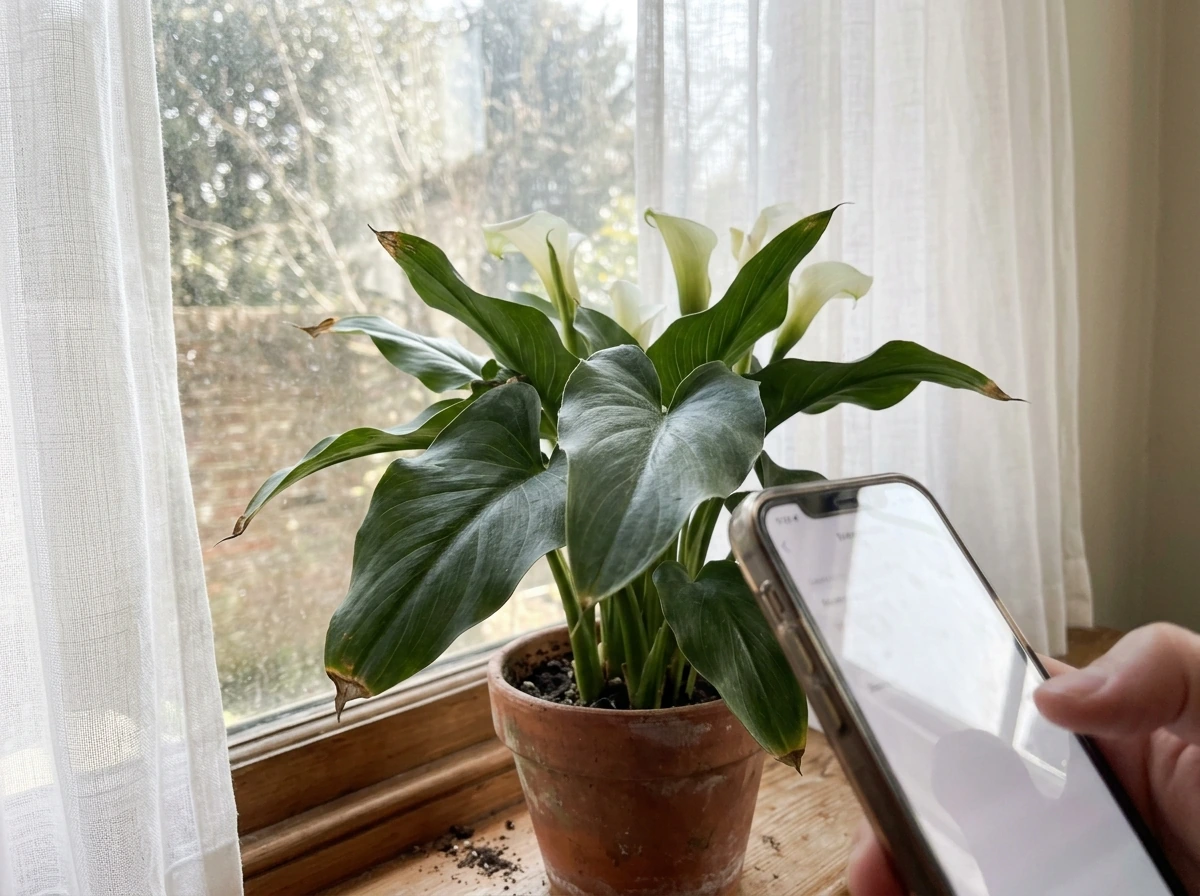
Calla lilies need bright light to bloom indoors, and in my experience most people underestimate how bright that needs to be. Research on indoor plants generally shows that light levels of 150 foot-candles or less hasten decline, and that is far below what a calla lily wants during its active growing period. You are aiming for a spot that gets direct or very bright indirect sun for at least four to six hours a day.
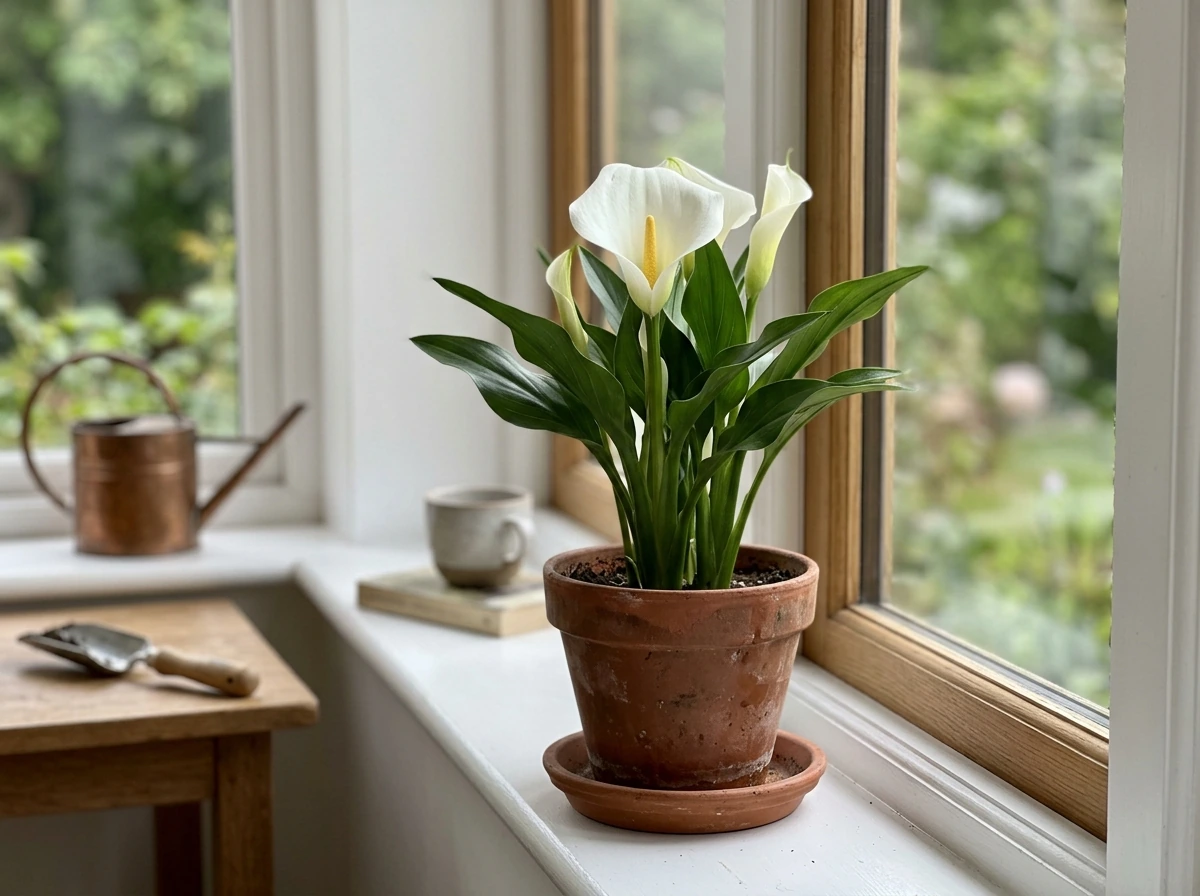
A south- or east-facing window is your best bet in the Northern Hemisphere. A south-facing window gives the most intensity; east-facing gives gentler morning sun that works well if the plant is placed close to the glass, within a foot or two. West-facing windows can work in summer but may not deliver enough hours in winter. North-facing windows are generally not sufficient for flowering.
Direct indoor sun through glass is softer than outdoor sun, so do not worry too much about scorching the leaves if the plant is next to a south-facing window. If the only bright spots you have involve intense afternoon sun in summer, a sheer curtain can take the edge off without dropping light levels dramatically. What you want to avoid is a spot more than a meter back from any window, even a large one. Light drops off quickly as you move away from the glass.
Potting and soil: keep it simple and well-draining
The single biggest soil mistake with indoor calla lilies is using a mix that holds too much water. The rhizome (the thick, fleshy root structure you plant) will rot in anaerobic, waterlogged media. You want a mix that drains well but still holds some structure and moisture.
A peat-free, loam-based compost like John Innes No. 2 is a reliable choice, and it is what the RHS recommends for Zantedeschia specifically. If you are in North America and cannot find that product, a good quality peat-free multipurpose potting mix with a handful of perlite mixed in works well. The perlite improves drainage and keeps the mix from compacting around the rhizome. Avoid heavy, dense mixes or anything marketed for moisture retention.
For pot size, go just a little larger than the rhizome itself. This is important. A pot that is much too large holds a lot of excess wet soil around the rhizome between waterings, which is exactly the environment that causes rot. A snug pot, maybe 2 to 3 inches wider than the rhizome on each side, dries out at a more appropriate rate. Make sure the pot has at least one drainage hole. No drainage hole means root rot is almost inevitable.
Watering, humidity, and temperature
Watering during the growing season
During active growth (when the plant has green leaves and is actively growing or blooming), water when the soil feels dry one to two inches below the surface. Push your finger into the soil up to the second knuckle. If it feels dry at that depth, water thoroughly until it drains from the bottom. Then wait again. You are maintaining moisture without letting the pot sit wet. Do not water on a fixed schedule. Check the soil and let it be your guide.
Once the plant finishes blooming and the leaves start yellowing, that is your signal to start pulling back on water. Reduce watering gradually rather than stopping all at once. As the foliage dies back completely, stop watering almost entirely and let the soil go dry. This dry-down triggers dormancy properly and protects the rhizome.
Managing dormancy indoors
Dormancy is the part that confuses most people, and honestly the part that I got wrong the first time I grew callas indoors. When the leaves yellow and die back, the plant is not dead. It is resting. You need to let it rest properly for about two to three months before trying to wake it up again.
During dormancy, keep the pot somewhere cooler than usual, ideally a couple of degrees lower than its active growing temperature. A spare room, a cool basement, or a spot away from heating vents all work. Reduce watering to almost nothing. Just give the soil the occasional very light water (every three to four weeks) to prevent the rhizome from completely desiccating. Do not repot during this period either. Wait until you see new growth emerging.
After two to three months, bring the plant back to its bright window and gradually increase watering. Do not flood it all at once. Ease it back into regular moisture over a week or two as you would coax any plant out of a dry rest. New shoots should appear within a few weeks, and that is your cue to resume normal care and begin light feeding.
Temperature and humidity
Calla lilies prefer a temperature range of 60 to 75°F (16 to 24°C) during active growth. Keep them away from cold drafts (near leaky single-pane windows or air conditioning vents) and away from heating sources that can dry out the air excessively. Average household humidity is fine for most calla varieties. You do not need to mist them or run a humidifier. What they hate is being chilled below 50°F (10°C) during active growth, which can halt development and damage foliage.
Planting and getting started: rhizomes, timing, and repotting
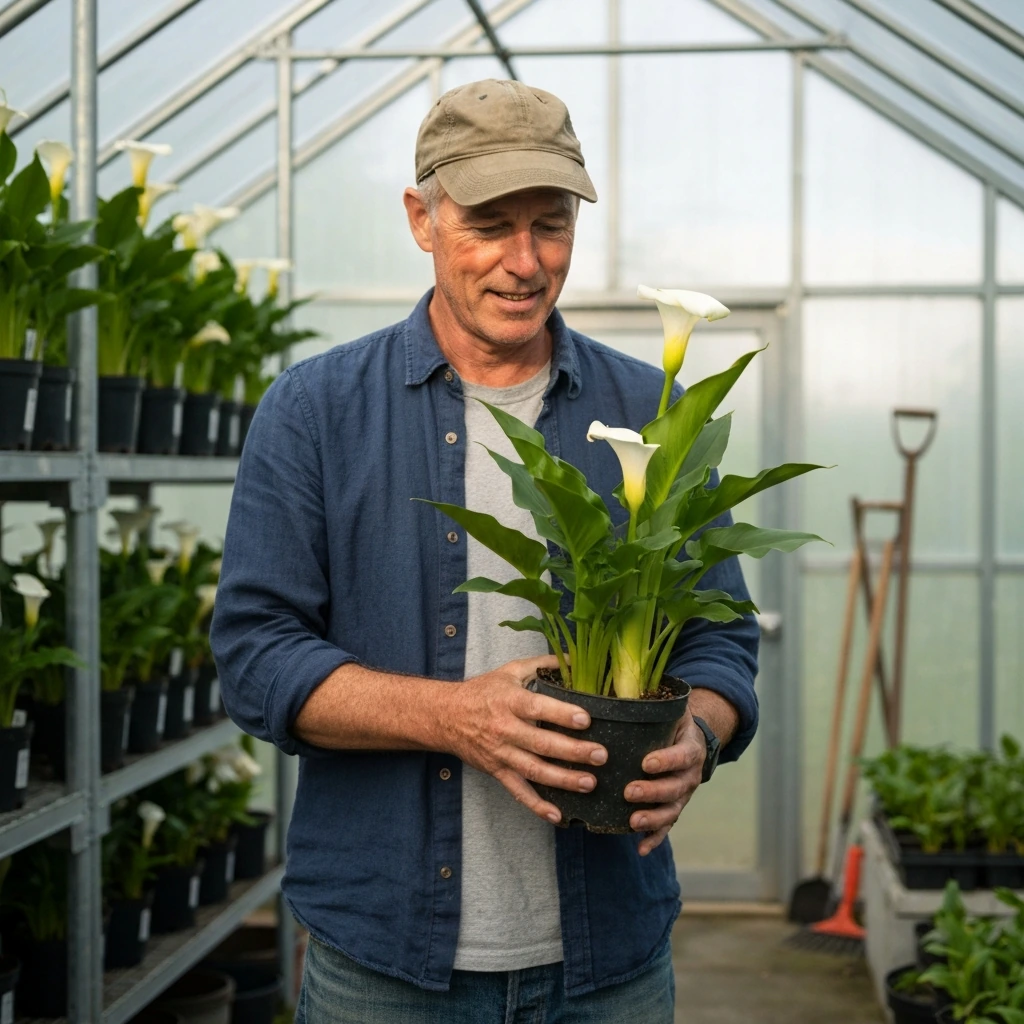
Calla lilies grow from rhizomes, which are sometimes sold as bulbs or corms but are technically rhizomes. They look like irregular, somewhat flattened lumps with rough skin and a slightly bumpy surface where new growth emerges. When you buy them dormant (usually available in winter or spring), you are buying a stored-energy package that is ready to go.
Plant the rhizome roughly 8 to 10 cm (about 3 to 4 inches) deep in your potting mix, with the growing tips facing upward. If you are repotting an established plant, replant at the same depth it was previously growing. Planting too shallow can lead to instability and poor establishment; too deep slows emergence. Water it in well once after planting, then hold back and wait for signs of growth before resuming regular watering.
Repotting is best done in spring just as dormancy ends and new shoots appear. At that point you can move the rhizome into a slightly larger pot if it has outgrown its current one, or divide a clump if it has produced offsets. Avoid repotting during active growth or during dormancy. Both timing choices increase stress and rot risk significantly.
Feeding, pruning, and keeping pests in check
Fertilizing
Start feeding after dormancy ends and new growth is visible. A gentle, balanced liquid houseplant fertilizer applied every two to three weeks through the growing season is enough. Do not fertilize during dormancy; the plant is not actively using nutrients and feeding it at that stage can burn the rhizome or encourage rot. Once flowering has finished and you are transitioning the plant toward dormancy, stop feeding.
Deadheading and pruning
Remove spent flower stems by cutting them cleanly at the base once the bloom fades. Deadheading does not harm the plant and keeps it looking tidy. Do not remove yellowing leaves during active growth if they are still green and contributing to photosynthesis. As leaves naturally yellow during dormancy transition, you can trim them back. Do not cut healthy green foliage unless it is damaged, as the leaves are still building energy stores in the rhizome.
Pest watch
Indoor calla lilies are most pest-prone in winter when conditions are dim and dry. The usual suspects are aphids, spider mites, scale, and fungus gnats. Aphids and mites cluster on new growth and the undersides of leaves. Scale appears as small brown bumps on stems. Fungus gnats are a sign the soil is staying too wet too often.
For aphids and spider mites, a thorough spray of neem oil solution or insecticidal soap, making sure to hit the undersides of leaves, handles most infestations. Scale can be wiped off with a cotton swab dipped in rubbing alcohol. Fungus gnats are best addressed by letting the soil dry out more between waterings, which removes the moist surface environment where their larvae live. Introducing sticky yellow traps near the pot helps catch adults.
Getting blooms and fixing common problems
Why it will not flower
The most common reason an indoor calla lily refuses to bloom is that it never had a proper dormancy. If you kept watering and kept it warm all year, the plant never got the rest it needs to reset and produce flowers. The fix is to deliberately induce dormancy by pulling back water after the next growth cycle, letting it go fully dry for two to three months, then bringing it back out. Another reason is insufficient light. If the plant is more than a meter from its nearest bright window, it likely does not have enough energy to produce blooms even if everything else is right. Move it closer.
Yellow leaves
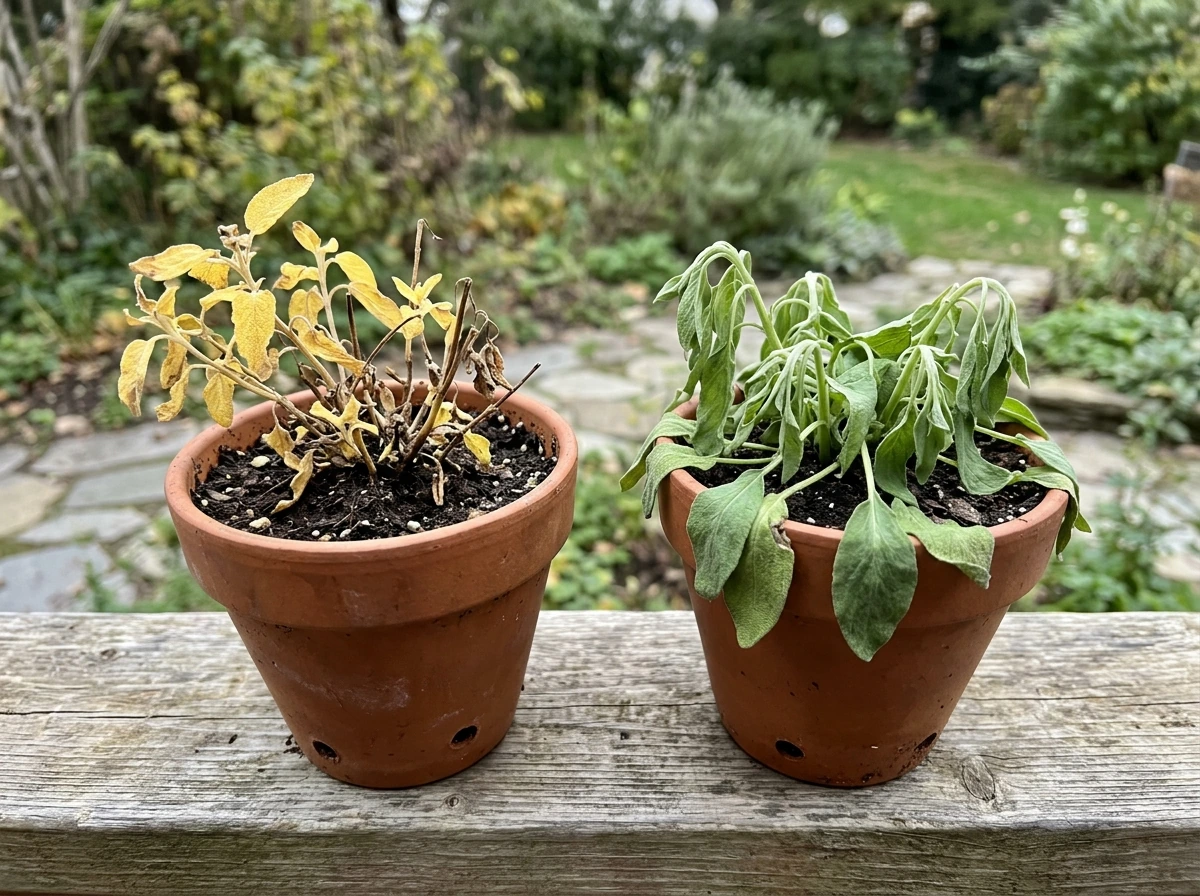
Yellow leaves during dormancy transition are completely normal and expected. Do not panic and start adjusting your care. However, yellow leaves during active growth usually signal overwatering, poor drainage, or the early stages of root rot. Check the soil. If it has been consistently wet and the pot feels heavy, let it dry out more aggressively before the next watering. If multiple leaves are yellowing rapidly alongside soft, mushy stems at the base, root rot may have set in.
Limp or drooping growth
Limp or flopping leaves and stems are usually one of two things: either the plant is not getting enough light and is producing elongated, weak growth that cannot support itself, or it is overwatered and the stems are going soft at the base. Check for both. A plant in dim conditions will grow toward any light source and develop floppy, pale growth. Move it to a brighter spot. If the stems are soft and mushy rather than firm, that is overwatering or rot.
Root rot
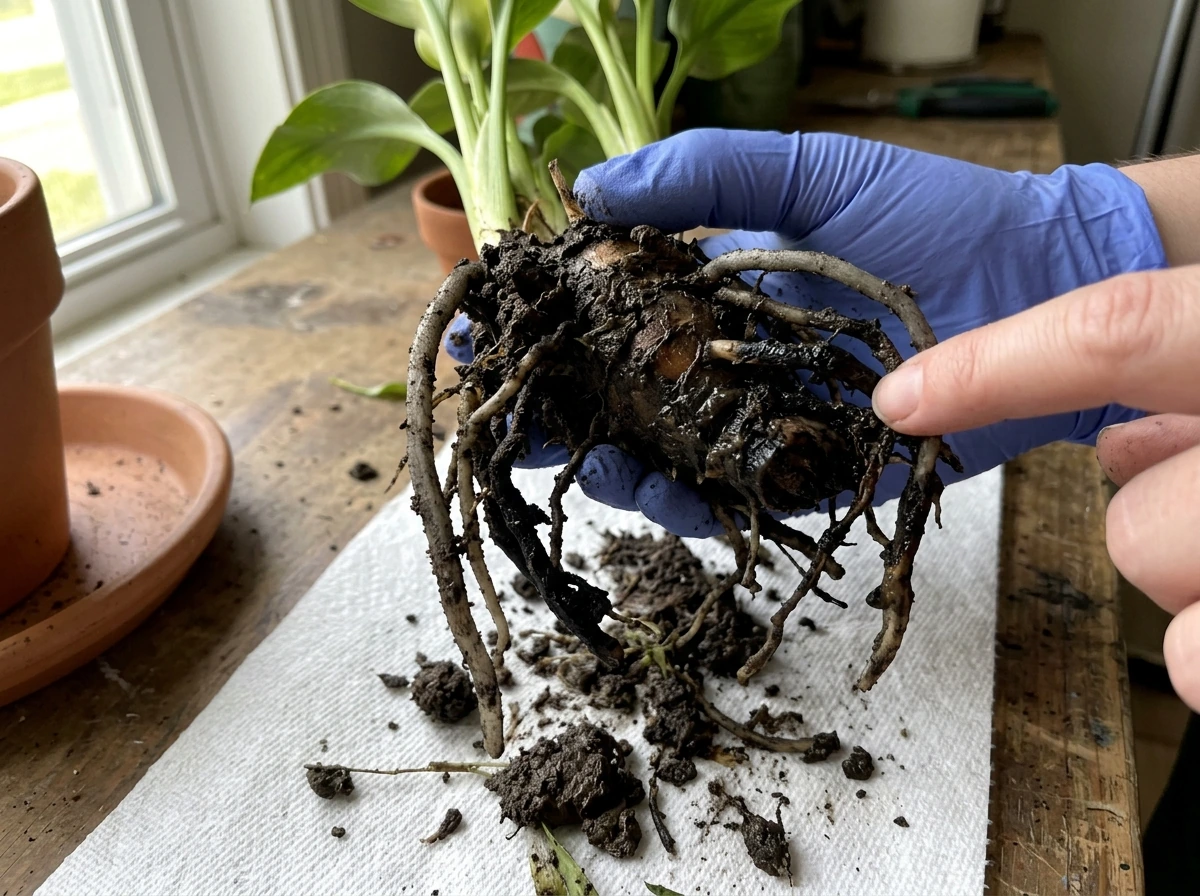
If you suspect root rot (soggy soil, mushy stem bases, rapidly yellowing leaves, and a faint sour smell from the pot), act quickly. Remove the plant from the pot and inspect the rhizome. Healthy rhizome tissue is firm and pale to cream-colored. Rotten sections are soft, dark, and may be slimy. Cut away any rotten parts with a clean blade, dust the cut surfaces with powdered cinnamon or a fungicide, and repot into fresh well-draining mix in a clean pot. Then be patient, reduce watering significantly, and see whether new growth emerges. It is not always a death sentence if you catch it early.
| Problem | Most likely cause | Fix |
|---|---|---|
| No flowers | Skipped dormancy or too little light | Induce proper 2–3 month dormancy; move to brighter window |
| Yellow leaves (during growth) | Overwatering or poor drainage | Let soil dry 1–2 inches down before next water; check drainage |
| Yellow leaves (late season) | Normal dormancy transition | Reduce watering gradually; allow foliage to die back naturally |
| Limp, floppy stems | Low light or overwatering | Move closer to window; check for soft mushy stem bases |
| Root rot | Chronic overwatering or no drainage | Remove rotten tissue, repot in fresh mix, reduce watering |
| Fungus gnats | Soil staying too wet | Let surface dry between waterings; use yellow sticky traps |
Your next steps right now
If you are starting fresh, buy a dormant rhizome this winter or spring, plant it 8 to 10 cm deep in a snug pot with good draining peat-free compost, and place it in your brightest window. Water it in once, then wait for shoots before resuming regular watering. If you already have a plant that is struggling, check the light first, then the watering frequency and drainage. Those two things solve the majority of indoor calla problems. And if your plant has gone dormant and you have been worried about it, give it its rest and then ease it back into light and water. It is most likely fine. can calla lily grow outside
If you are also thinking about grow calla lilies outdoors or whether can calla lilies grow in water in a water feature, the care principles overlap but the specifics differ. The same site covers those setups separately, including growing them in ponds and deciding between indoor versus outdoor placement, so it is worth checking those guides once you have your indoor setup dialed in.
FAQ
Can I keep my indoor calla lily in the same pot permanently and just change the soil later?
You can keep it in the same container for a while, but if the rhizome becomes crowded or the mix compacts, drainage drops and rot risk rises. Plan a repot or refresh after dormancy ends and new shoots appear, and if you do not want a size increase, at least replace a portion of the old mix with a fresh, fast-draining peat-free blend.
What if my indoor calla lily never fully goes dormant, do I force dormancy anyway?
If it never shows a strong leaf yellowing and die-back, it may be getting too much light, too warm, or watered inconsistently. You can still induce rest by gradually reducing watering after flowering, moving to slightly cooler conditions, and stopping regular moisture once foliage begins to fade. Do not stop abruptly while leaves are still fully green, because the rhizome needs time to store energy.
How do I know the difference between dormancy leaf yellowing and a watering problem during active growth?
Dormancy typically comes with a full, natural die-back where older leaves yellow evenly as growth pauses. During active growth, yellowing that comes with consistently wet soil, a heavy pot, or soft stems at the base is more likely overwatering or early rot. A quick check is the soil depth, if it stays wet below the surface day after day, it is not true dormancy.
Should I remove the rhizome from the pot during dormancy to store it dry?
In most indoor setups, leaving the rhizome in its pot is easier and safer, because you avoid damaging it when it is resting. Pot dormancy also lets you give the occasional minimal moisture. Only consider bare-rhizome storage if you have a proven dry storage method and can keep the rhizome cool but not freezing, otherwise rot or desiccation risk goes up.
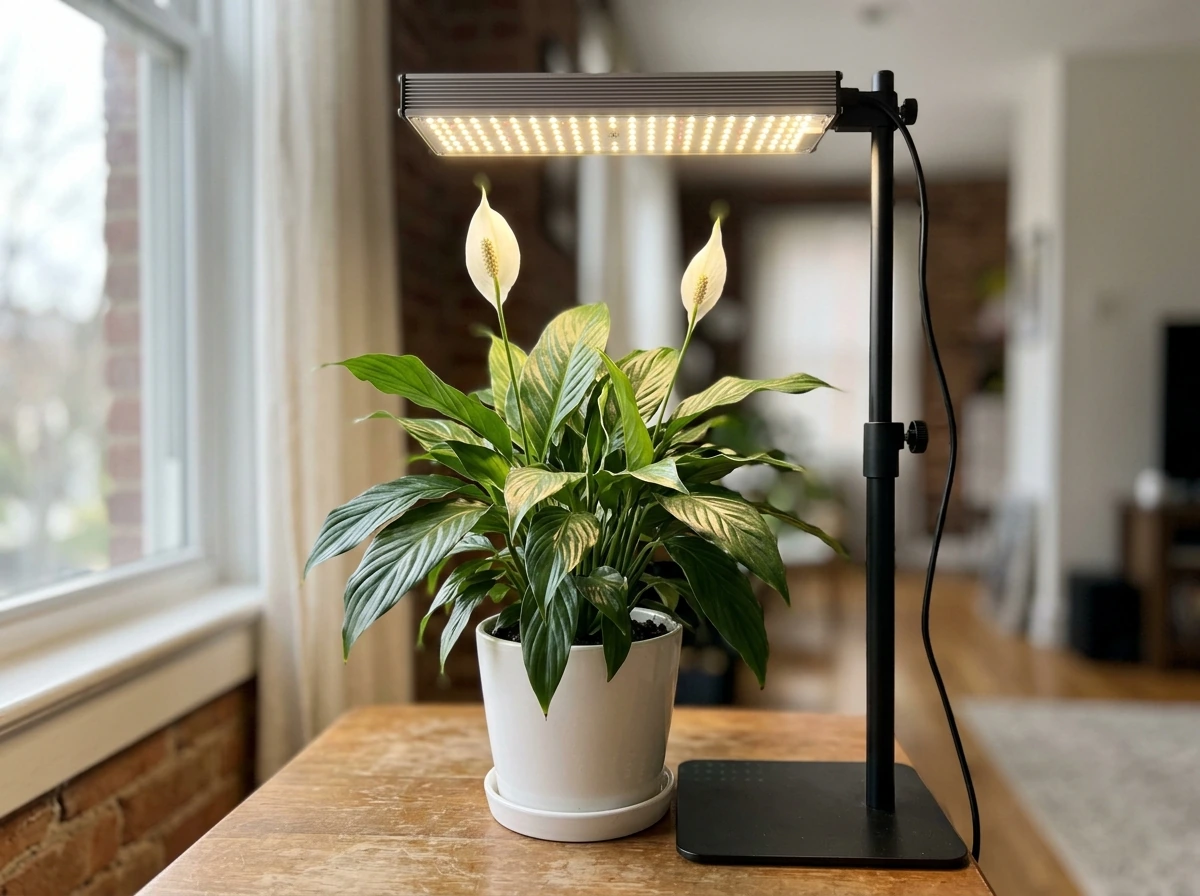
Can I grow calla lilies indoors with grow lights if I do not have a very sunny window?
Yes, but you need intensity and duration. Place the plant close enough that the light delivers strong usable power, then mimic the window routine of several hours of high light during active growth. If you use grow lights, monitor for stretched, pale growth, that is your sign the light is not strong enough and blooming will likely be delayed.
How much water is “almost nothing” during dormancy, and what does it look like in practice?
The goal is not a bone-dry dust situation, it is a barely moist medium so the rhizome does not desiccate. Water lightly only every few weeks, just enough to prevent the mix from pulling away from the pot sides or becoming hydrophobic. After watering, let it dry again rather than keeping it evenly damp.
Why do my calla lilies keep producing leaves but no flowers, even though I do everything else right?
Two common overlooked causes are insufficient light during the active phase and rhizome age or energy. If the plant is young or the rhizome was small at purchase, flowering can take multiple cycles. Also ensure you are not overfeeding with high-nitrogen fertilizer, which can encourage foliage at the expense of blooms.
Is it okay to mist the leaves to boost humidity indoors?
Usually no need, and it can even worsen issues if air movement is poor. Calla lilies tolerate normal household humidity, the bigger concern is temperature stability and watering correctly. If you do mist, do it sparingly and only when the plant will dry quickly, never while temperatures are near the cold-risk range.
Are calla lilies safe around pets and kids when grown indoors?
Calla lilies are toxic if ingested, so keep them out of reach and avoid letting pets chew leaves or flower parts. If you suspect ingestion, contact a local poison helpline or veterinarian promptly. Even handling can irritate sensitive skin for some people, wash hands after working with the plant.
Next Articles

Can You Grow Calla Lilies Outside? Outdoor Guide
Learn if you can grow calla lilies outside, with climate limits, light, soil, watering, and frost protection tips.
Do Peace Lilies Like Grow Lights? Setup Guide Indoors
Yes. Get peace lily grow-light setup tips: spectrum, distance, daily hours, placement, rotation, and troubleshooting sig
Can Peace Lily Grow Without Sunlight? Light Guide and Fixes
Learn if peace lilies can grow with no sunlight, how much indirect light they need, and quick fixes for poor light.