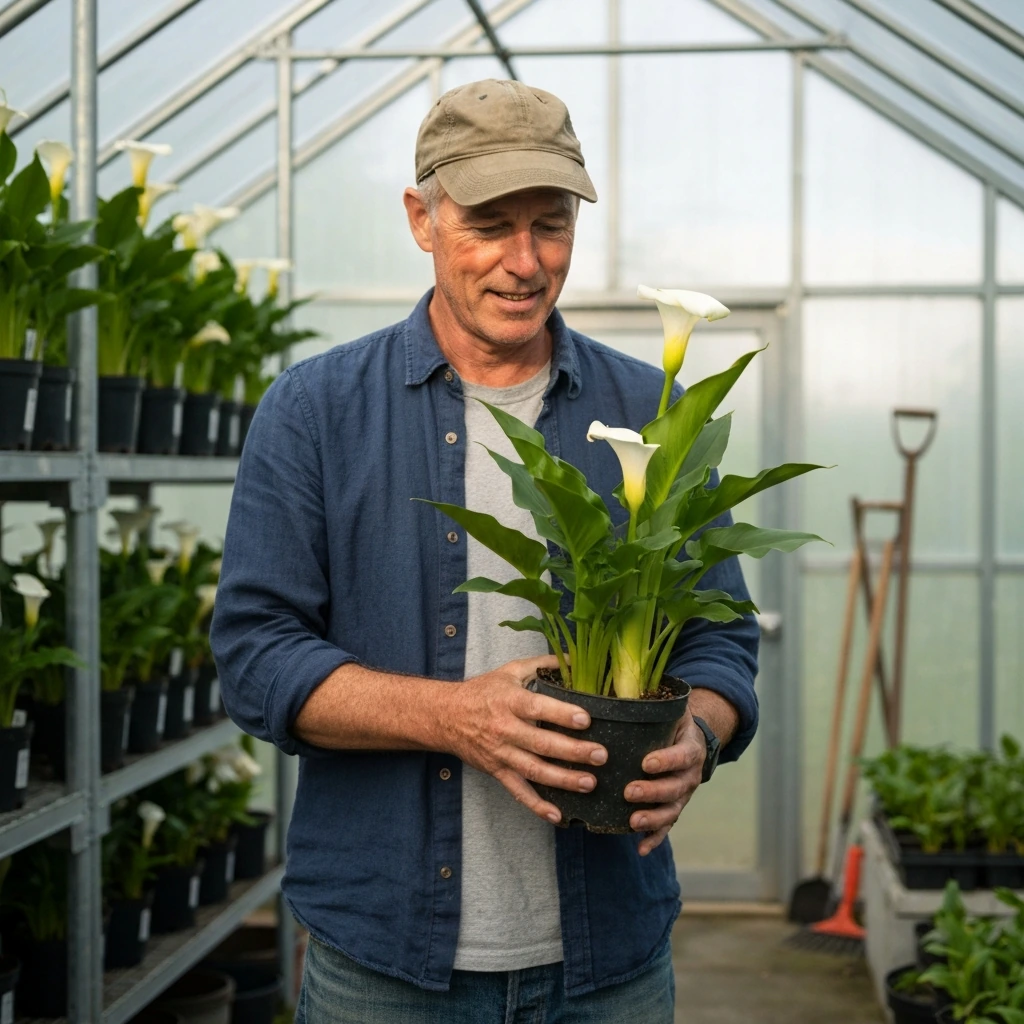
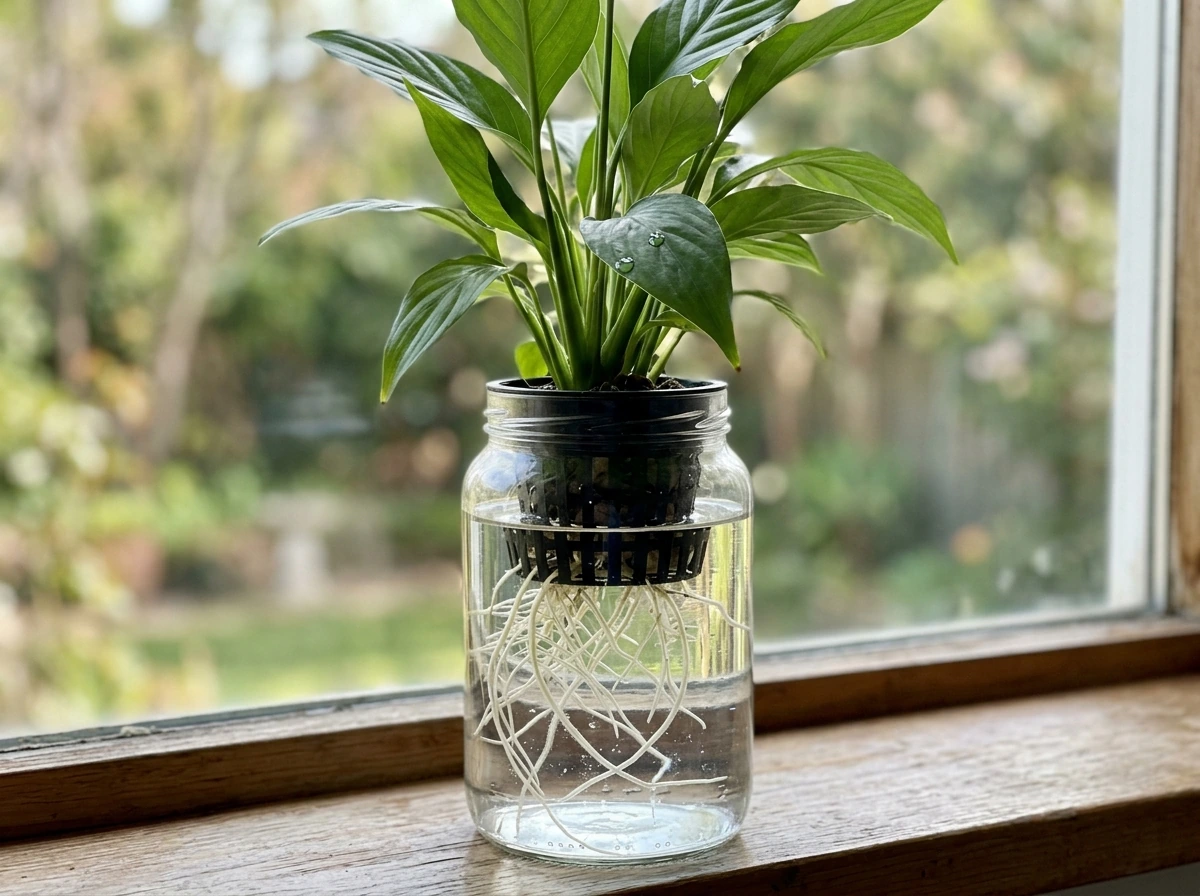
One quick note before we go further: peace lilies are not true lilies at all. Unlike asiatic lilies, daylilies, or calla lilies, Spathiphyllum is a tropical foliage plant from the arum family. It's in a completely different growing category from those outdoor bulb types. That distinction matters here because it's what makes the peace lily such a natural fit for ... spathiphyllum is a tropical foliage plant from the arum family. It's in a completely different growing category from those outdoor bulb types. That distinction matters here because it's what makes the peace lily such a natural fit for indoor bathroom conditions that would kill most other lily types outright. that would kill most other lily types outright.
Light requirements for peace lily in bathroom conditions
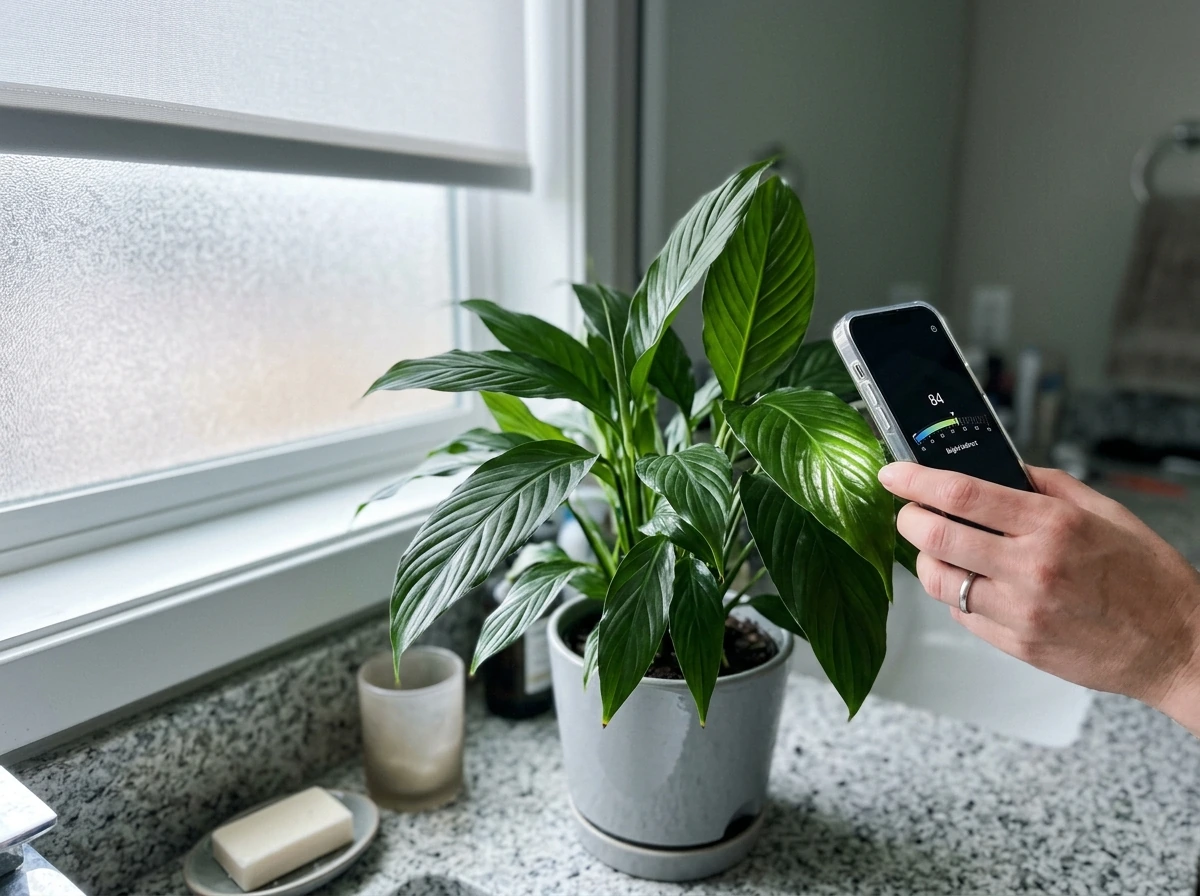
Light is the single most important thing to figure out before you place a peace lily in your bathroom. Peace lilies are famously tolerant of low light, and production research from UF/IFAS confirms they perform well in the 1,500 to 2,500 foot-candle range indoors. But 'tolerant of low light' doesn't mean they love total darkness. It means they won't die immediately in dim conditions the way a sun-loving plant would. There's a real difference between surviving and growing well.
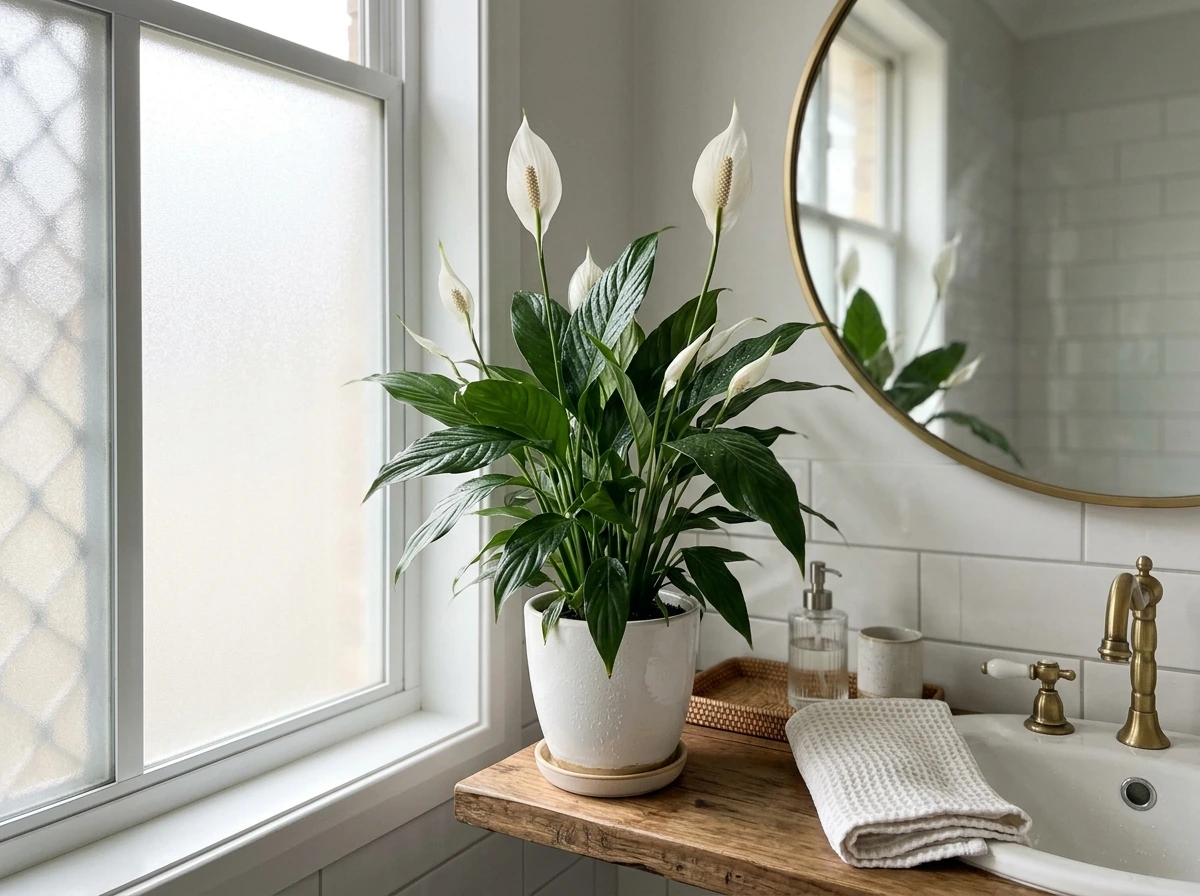
For healthy foliage and any realistic chance of blooms, you want bright indirect light. In a bathroom, that most often comes from a frosted or small window, a skylight, or a window that faces north or east. A north- or east-facing window that lets in natural light without direct sun hitting the leaves is genuinely ideal. If your bathroom has a south- or west-facing window, that can work too, but keep the plant a few feet back or use a sheer curtain to filter the intensity. Direct sun through glass can scorch the leaves, which is the opposite problem from low light but just as damaging.
If your bathroom has no natural light at all, I'll be honest with you: the peace lily will survive for a while, but it won't grow much and it almost certainly won't bloom, if you're dealing with “can peace lily grow without sunlight,” a grow light on a timer is usually the next step. That kind of setup is better addressed with a [grow light on a timer](/growing-peace-lilies/do-peace-lilies-like-grow-lights). If you're curious about that approach, it's worth looking into how peace lilies respond to grow lights specifically, since their light needs differ from many other houseplants. For most bathrooms with at least one window, though, you're already in a workable range.
Humidity, temperature, and airflow: what bathrooms usually get right (and wrong)
Where bathrooms really shine
Humidity is where the bathroom genuinely earns its reputation as a great peace lily spot. Peace lilies are tropical plants that love moisture in the air, and bathrooms regularly hit humidity levels after showers that most other rooms in your home never reach. This naturally reduces the need to mist the plant, and it helps prevent the brown leaf tips that show up when air is too dry. SDSU Extension specifically calls out low humidity as a cause of browning tips, so a steamy bathroom is a real advantage.
Temperature is usually fine in a bathroom too. Peace lilies do best between 65 and 80°F, and most heated indoor bathrooms fall right in that sweet spot. UF/IFAS notes they can tolerate a wider range of about 65 to 90°F without major problems, so unless your bathroom gets unusually cold at night, temperature isn't typically a concern.
Where bathrooms can cause problems
Here's where it gets tricky. Many bathrooms have exhaust fans, and running that fan aggressively or leaving a window cracked in winter can create sudden cold drafts or rapid humidity swings. Cold air from a vent blowing directly on the plant, or a window left open on a freezing night, can stress or damage the leaves. Garden Design makes the point clearly: peace lilies need stable warm conditions, not temperature fluctuations from drafts. Check where your exhaust fan blows and keep the plant out of that direct airflow.
Another bathroom-specific issue is that the humidity spikes when the shower is running but can drop significantly when the fan is on or the room cools down. Peace lilies handle this better than most plants, but if your bathroom is windowless and you always run the fan, the humidity benefits largely disappear. In that case, you're getting the worst of both worlds: low light and lower-than-expected humidity. That's when bathroom placement stops being a great idea.
Soil, pot, and drainage setup for success
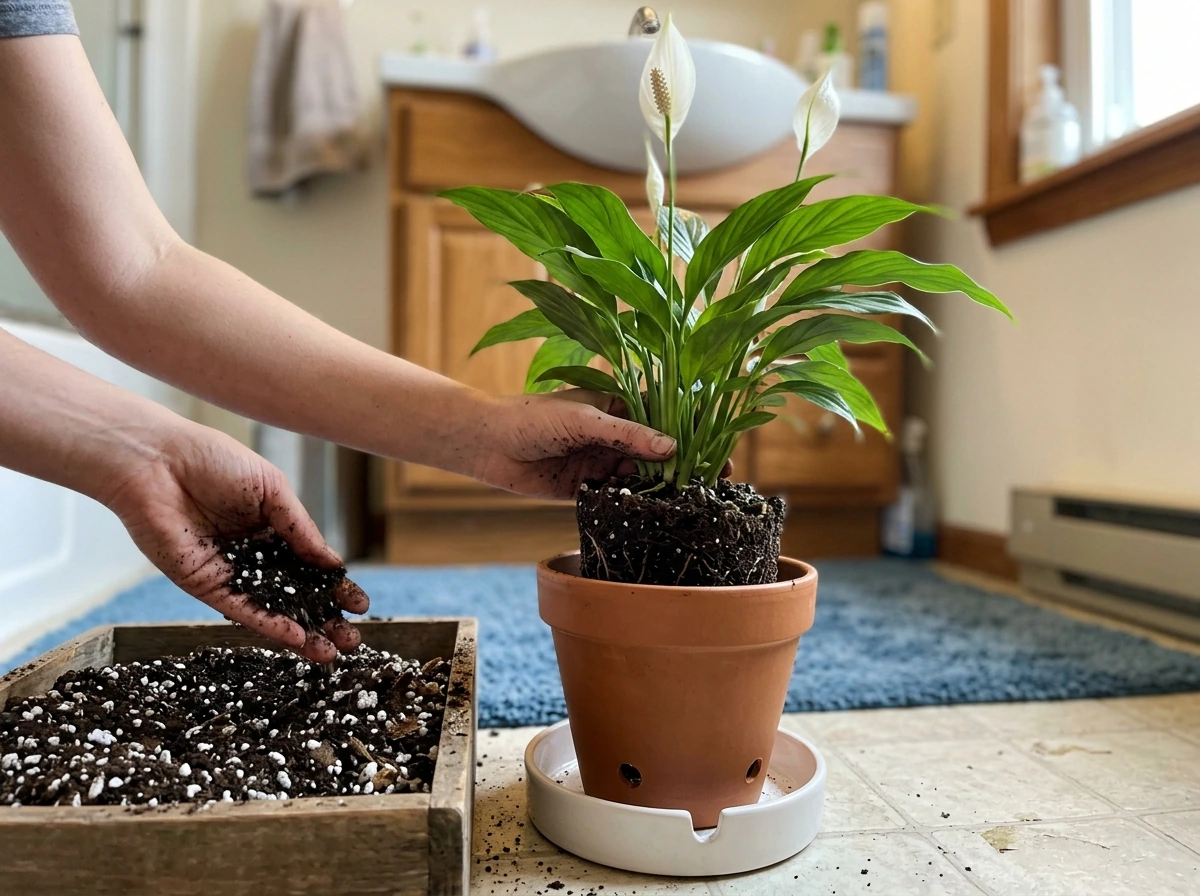
Use a well-draining potting mix. A standard indoor potting mix works fine, but if yours tends to stay wet for days at a time, mix in a small amount of perlite to improve aeration. The goal is a mix that holds some moisture but doesn't become waterlogged. In a bathroom, where ambient humidity is already elevated, the soil dries out more slowly than it would in a dry living room. That's worth keeping in mind, because soggy soil in a humid room is a recipe for root rot.
Drainage holes are non-negotiable. Healthy Houseplants' care guide makes this point firmly, and I'll echo it: if your pot doesn't have drainage holes, the plant will eventually sit in accumulated water at the bottom and the roots will rot. It doesn't matter how careful you are with watering. Without drainage, you lose control. Use a pot with holes and place a saucer under it, but empty the saucer after watering. Don't let the pot sit in standing water.
For pot size, keep it proportional to the plant. Peace lilies in pots that are too large tend to develop root issues because the excess soil holds moisture the roots can't use fast enough. A pot that's roughly 1 to 2 inches wider in diameter than the root ball is the right fit. Terracotta pots can be useful here because they're porous and help the soil dry out a bit faster, which is actually helpful in a high-humidity bathroom setting.
Watering routine in a humid room (how often, how to tell)
Forget a fixed watering schedule. MU Extension is clear on this: water when the plant needs it, not on a calendar. In a bathroom with higher ambient humidity, the soil will stay moist longer than it would in a dry room, so watering every 4 to 7 days (a general guideline for bright indirect light conditions) can easily become too frequent in practice. You may find yourself watering once a week in summer and once every 10 to 14 days in winter.
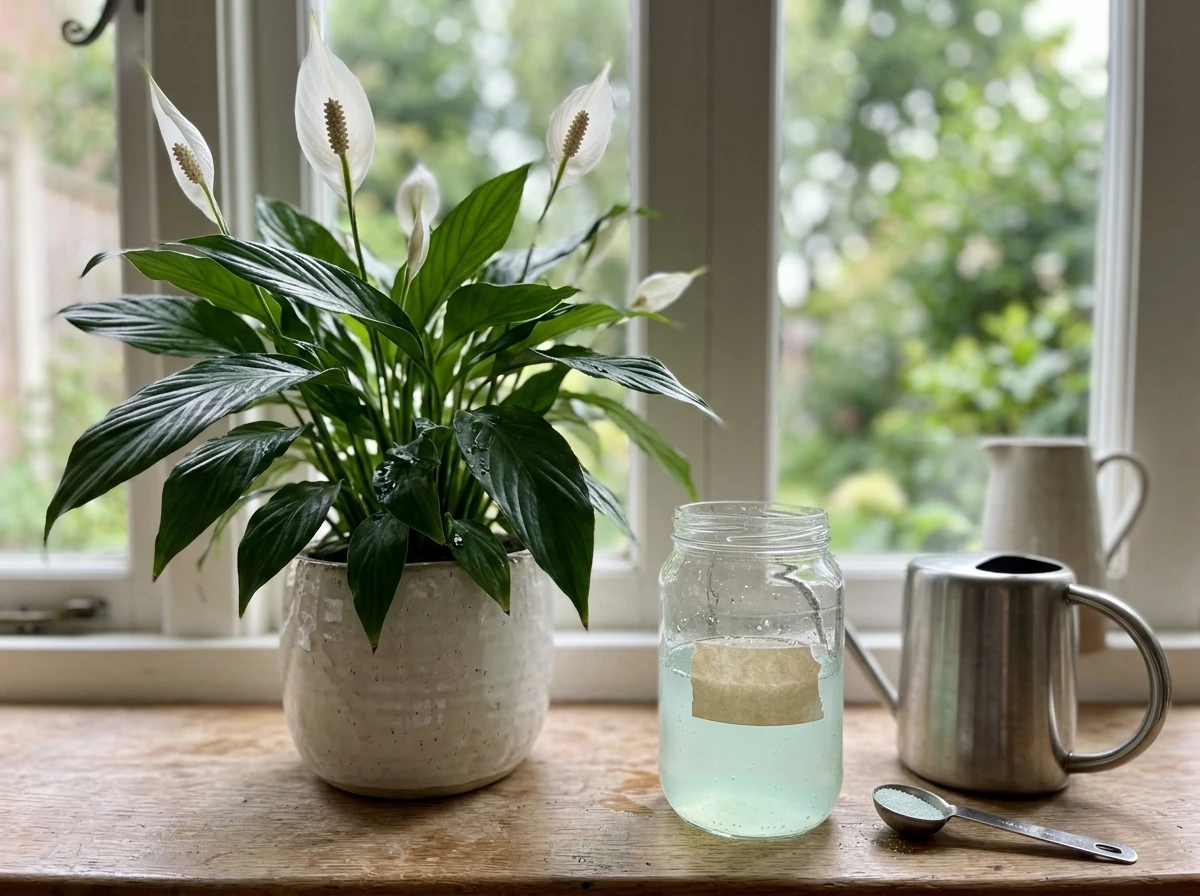
The check is simple: stick your finger about an inch into the soil. If the top inch feels dry, water thoroughly. If it still feels moist, wait another day or two and check again. BackyardBoss recommends checking the top 2 inches before watering to avoid keeping the mix chronically wet. When you do water, soak it thoroughly so water runs out the drainage holes, then let it drain completely. The method from Woman & Home is worth adopting: bottom-water by setting the pot in water for no more than 30 minutes, then remove it and let the excess drain. This encourages deep root growth and avoids sitting water on the surface.
The clearest sign you're overwatering in a humid bathroom is mold or fungal growth on the soil surface. Fiddle and Thorn specifically flags this as a warning signal. If you see that, let the soil dry out more between waterings and consider improving drainage.
Common problems in bathrooms and how to fix them
| Problem | Likely Cause in a Bathroom | Fix |
|---|
| Yellow leaves | Overwatering, poor drainage, or low light | Check soil moisture; improve drainage; move to better light |
| Brown leaf tips | Low humidity, over-fertilizing, or dry soil | Reduce fertilizer; keep away from fans/vents; check watering |
| Drooping leaves | Underwatering or root rot from overwatering | Check soil: dry = water now; soggy = let dry out and check roots |
| No blooms | Insufficient light | Move closer to window or add a grow light |
| Leggy, stretched growth | Too little light | Relocate to brighter indirect light source |
| Fungus gnats | Constantly wet soil | Let soil dry more between waterings; check drainage |
| Mold on soil surface | Overwatering in humid conditions | Reduce watering frequency; improve airflow around the pot |
| Mealybugs or scale | Indoor pest pressure | Wipe with damp cloth or treat with insecticidal soap |
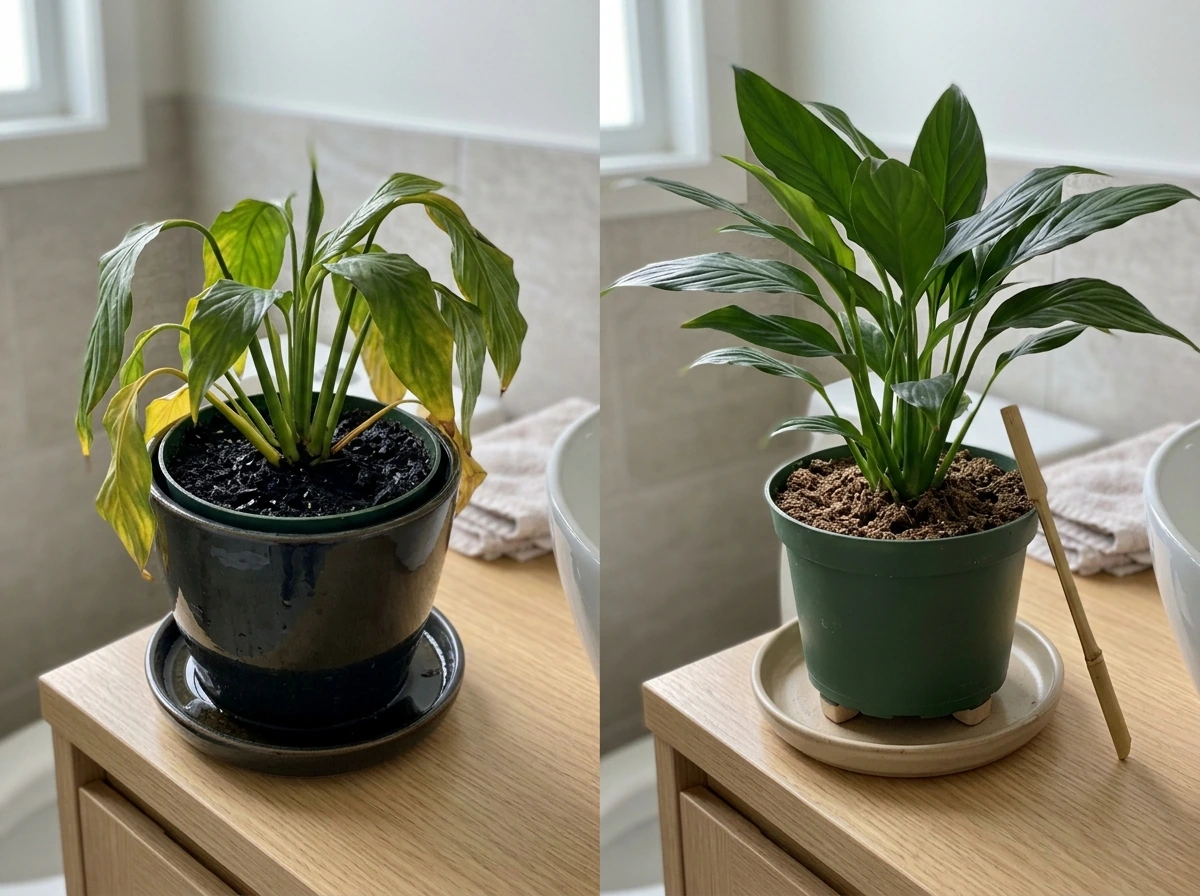
Root rot is the most serious risk in a bathroom setting, and it's caused by the combination of overwatering and poor drainage, not humidity alone. UF/IFAS flags Phytophthora root rot as a real threat when roots sit in standing water. If your plant is drooping but the soil is wet, pull the pot out and check the roots. Healthy roots are white or light tan. Brown, mushy, foul-smelling roots mean rot has set in. Trim the affected roots, repot into fresh dry mix, and scale back your watering significantly.
Fungus gnats are another bathroom-specific nuisance. UC IPM explains that fungus gnat larvae thrive in consistently moist potting media where they feed on organic matter and roots. In a humid bathroom where soil dries slowly, the conditions are perfect for them. The fix is cultural, not chemical: let the top layer of soil dry out between waterings and they'll lose their breeding ground.
How to encourage growth and possible blooms
If you want your bathroom peace lily to actually bloom, light is the lever you pull first. Research published in Acta Horticulturae confirms that flower initiation in Spathiphyllum is influenced by both photoperiod and light intensity. In plain terms: a plant sitting in a windowless or very dim bathroom is very unlikely to flower. Moving it to a spot with bright indirect natural light, even if it's just near a frosted window that gets decent daylight, makes a significant difference.
Fertilizing helps too, but keep it light. UF/IFAS recommends applying a [diluted liquid fertilizer at low dose](/growing-peace-lilies/is-miracle-grow-good-for-peace-lily) roughly three times per year for houseplant Spathiphyllum. Over-fertilizing is a real risk and can cause brown leaf tips, so follow the manufacturer's instructions and err on the side of less. The growing season (spring through early fall) is when fertilizing does the most good. Ease off through winter.
Beyond light and feeding, healthy roots and fresh soil go a long way. If your plant has been in the same pot for two or more years, consider repotting into a slightly larger container with fresh potting mix. Cramped, depleted soil limits growth and flowering. A healthy, well-rooted plant in good soil with adequate light is the most reliable path to getting those white spathes to appear.
Placement tips: how to choose the best spot in your specific bathroom
Start by identifying where the natural light actually lands in your bathroom. Stand in the room on a bright morning and notice where the light falls. That's your best zone. A windowsill with a frosted window, a shelf beside a skylight, or a spot on the counter within a few feet of a north- or east-facing window are all strong options. Oasis Indoors specifically recommends north- and east-facing windows for peace lily placement to deliver filtered, indirect light without intensity.
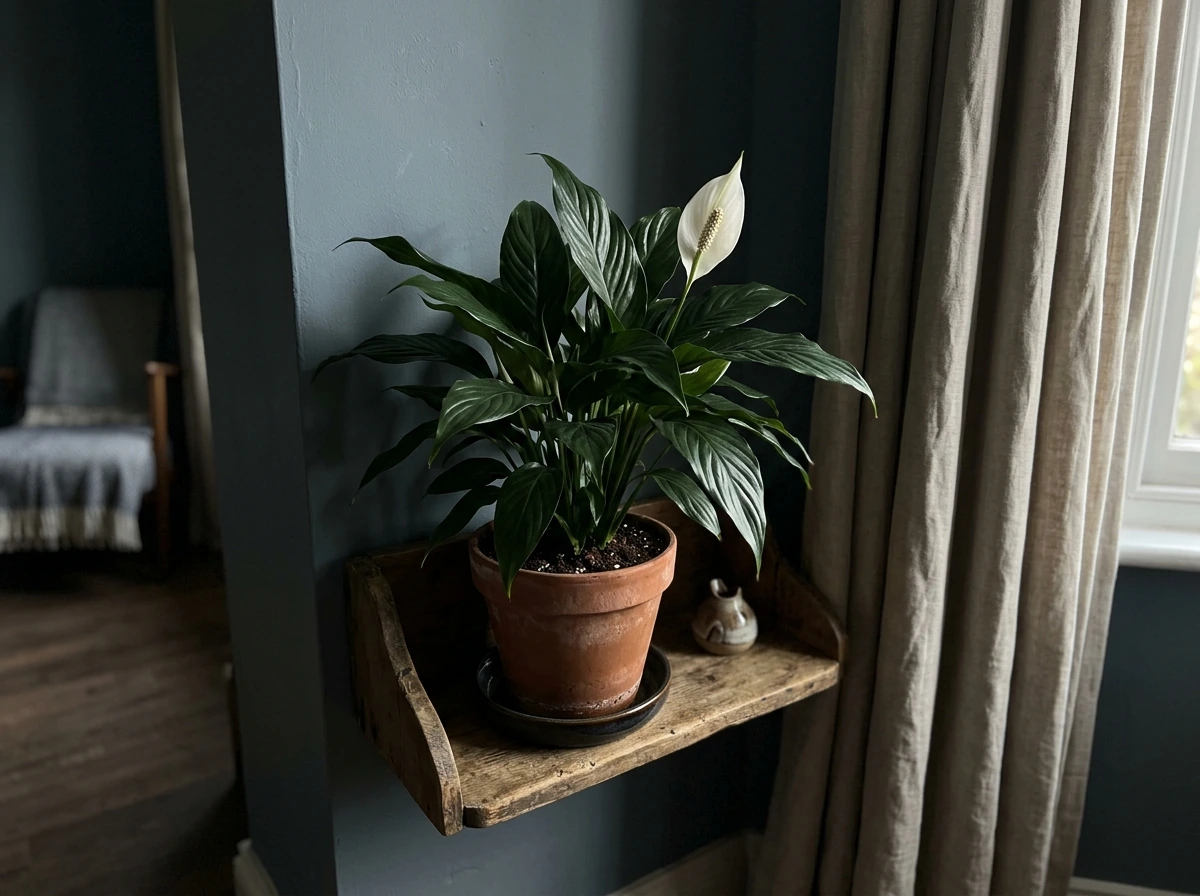
Keep the plant away from these specific spots regardless of how convenient they look: directly under or in front of an exhaust fan vent, on a windowsill that gets direct afternoon sun, on the floor next to an exterior wall that gets cold in winter, or anywhere near a forced-air heat or AC vent. All of these create the temperature instability and drafts that peace lilies dislike.
If your bathroom is genuinely small and dark, be realistic. A peace lily can survive in very low light, but it won't grow enthusiastically or bloom. If this is your situation and you're set on having a peace lily in there, consider supplementing with a small grow light on a timer. That topic is covered in detail in a dedicated article on whether peace lilies do well under grow lights, which is worth reading alongside this one.
One practical trick I've used: rotate the plant a quarter turn every couple of weeks. Bathrooms with a single window create uneven light exposure, and rotating ensures all sides of the plant get equal time in the light. It keeps growth even and prevents the plant from leaning heavily toward the window over time.
At a glance: what a healthy bathroom peace lily looks like
- Deep green, upright leaves with no yellowing, browning, or wilting
- New leaves pushing up from the center of the plant every few weeks during the growing season
- Soil that feels moist right after watering but noticeably drier after a few days
- White or light tan roots visible at the drainage holes (a sign the plant has healthy, active roots)
- Occasional white spathes (the 'flowers') if light levels are adequate, typically once or twice a year
If your plant is hitting all of those markers, your bathroom setup is working. If it's falling short on one or two, the sections above give you a targeted fix for each issue. Peace lilies are forgiving plants, and most problems are reversible once you identify the cause. With decent light, honest drainage, and a watering approach based on soil feel rather than a calendar, a bathroom peace lily is genuinely one of the easier houseplants you can maintain.